![]() Nancy LT Hamilton
Nancy LT Hamilton
Last updated: 7/31/18, 7/8/18, 2/1/18
Contents
Question: Making Chasing and Repousee Tools from Old Steel Tools
Alternatives to a traditional pitch/base setup and other questions
 New chasing hammer’s face.
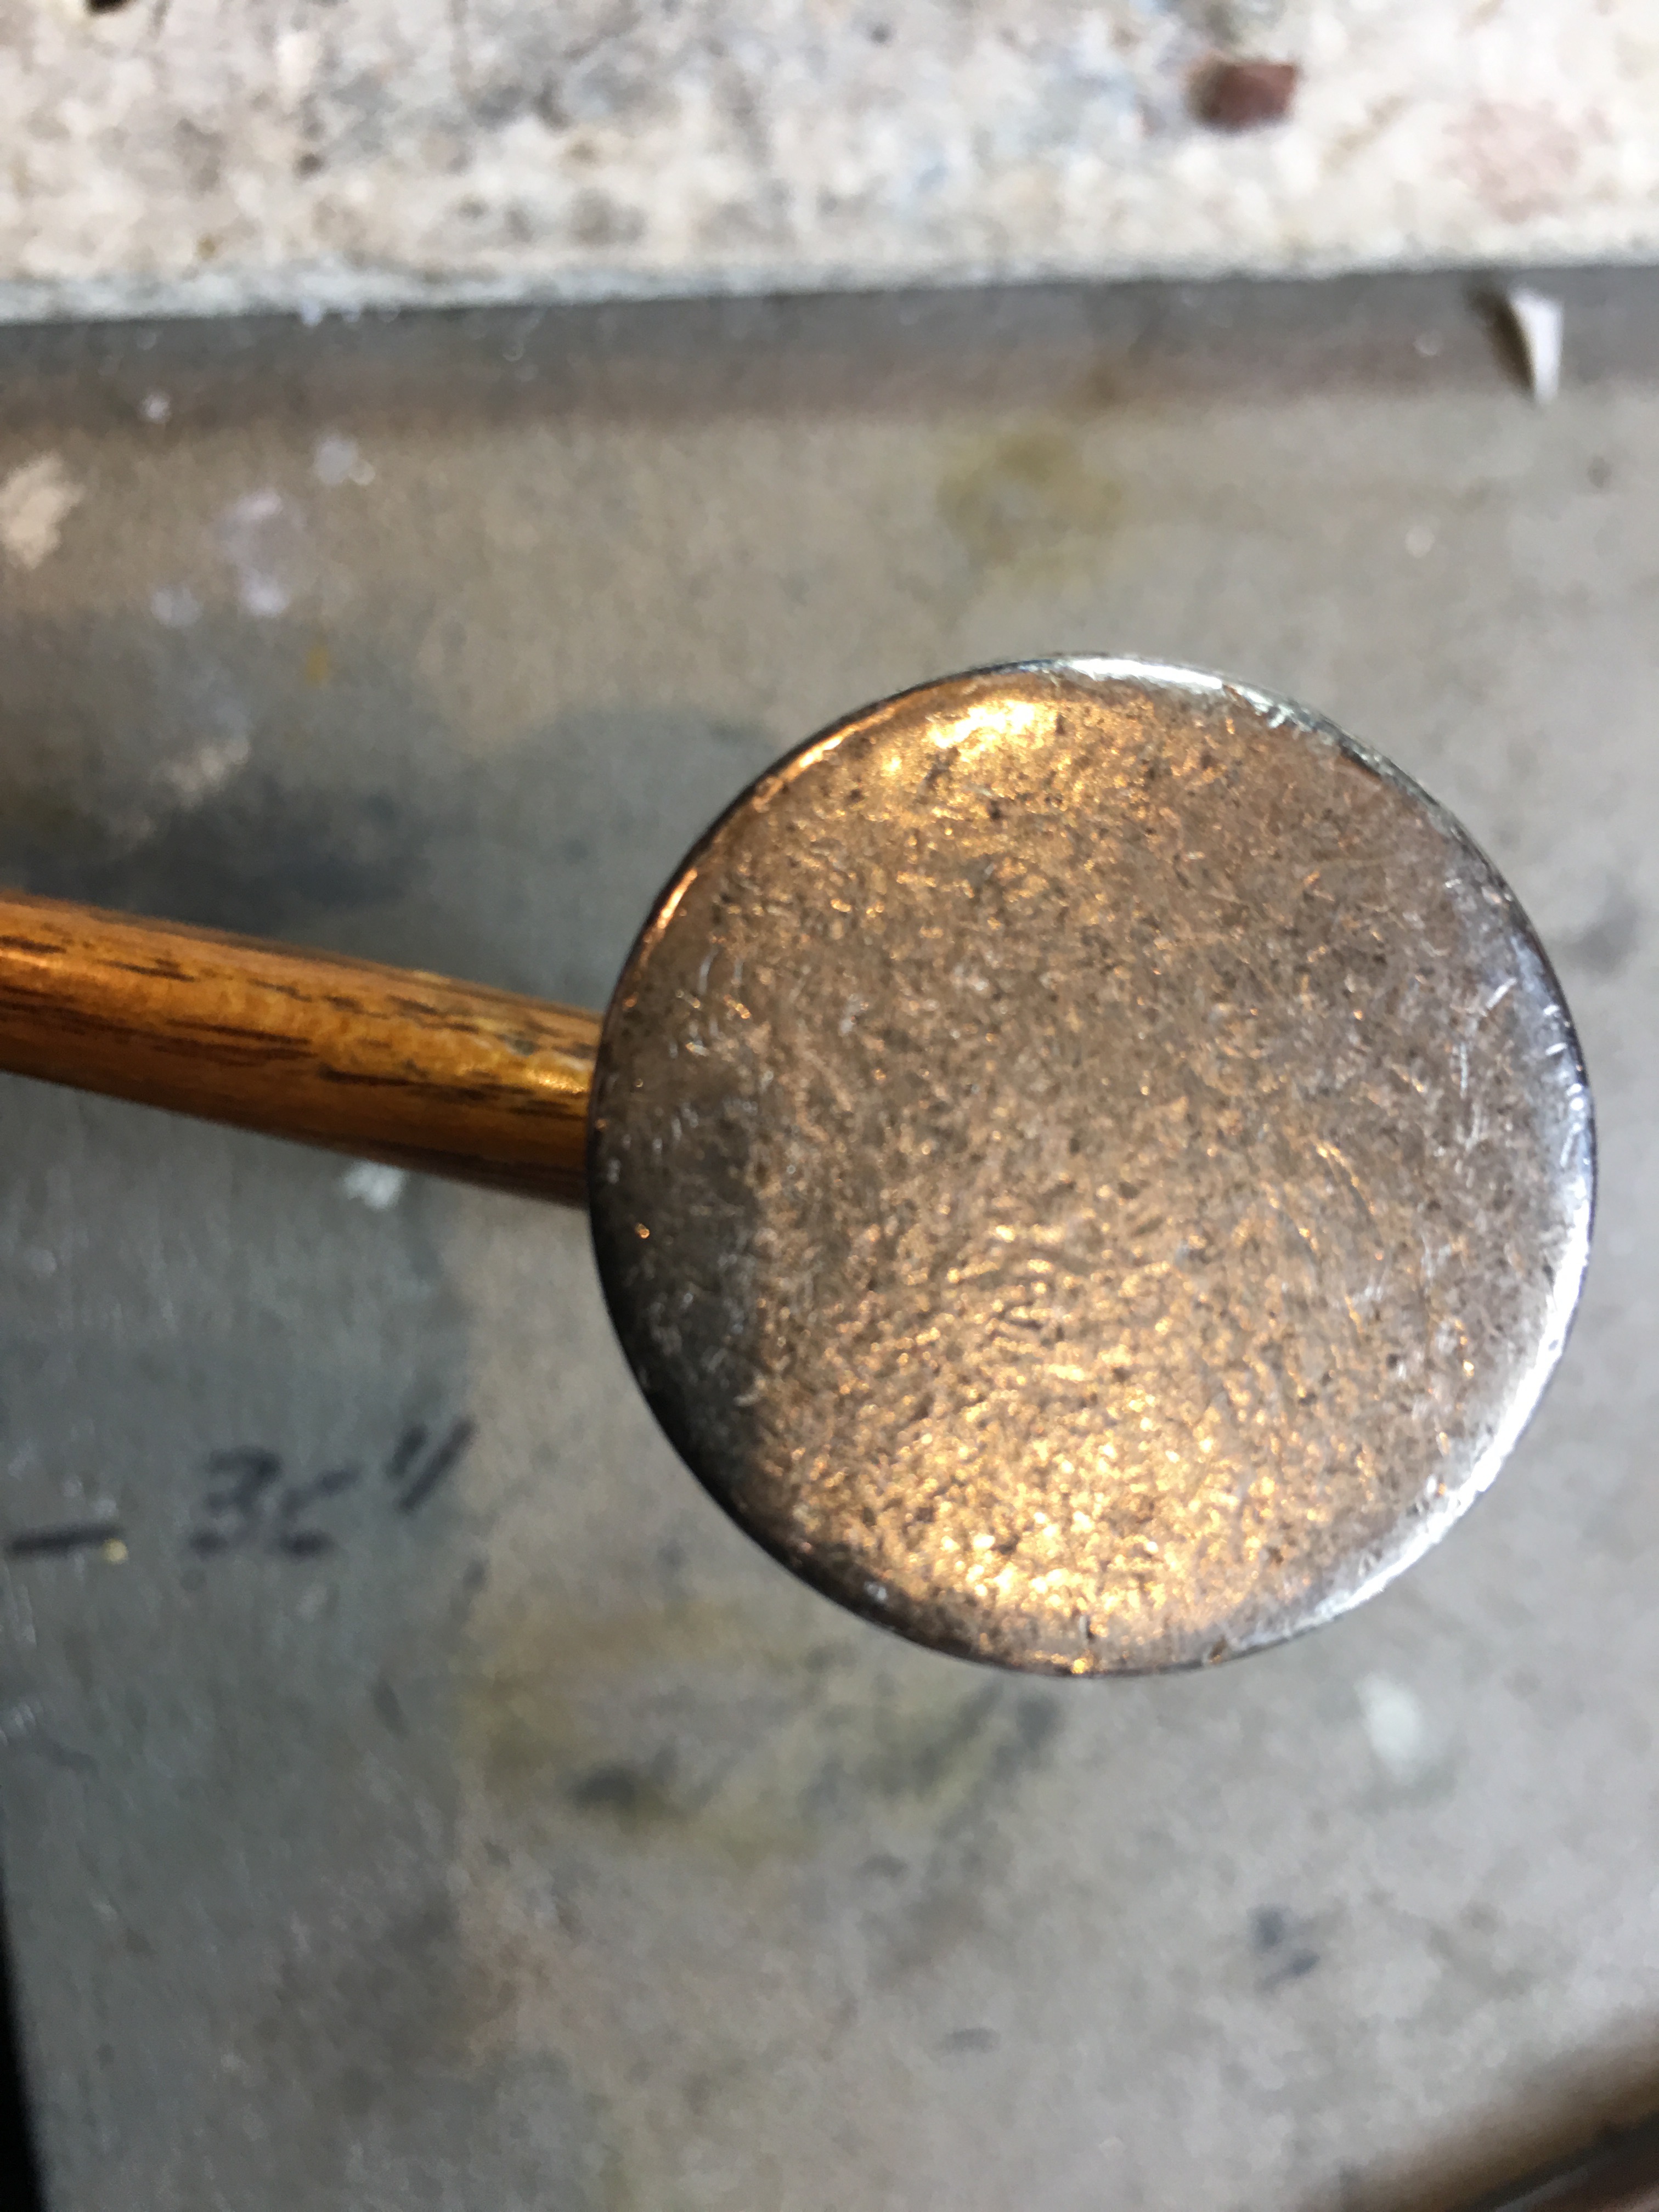

Modifying a tool after tempering
If I modify the tool after it’s been hardened, do I need to do the last 2 steps over again (Annealing and tempering)? And, the tools will return to being magnetic once they cool, right?
Answer

Question
If I am using old tools to make C/R tools, (ex: screwdrivers, chisels, longer bits, etc,) the process is the same, right? What about using brass rods? Would they make ok tools for brass/copper? I think on silver they might leave a gold color that would need buffing out.
Also, it should be ok that only the working area/tip is mirror finished, right? Some of the tools I’m using have pits or gouges on the sides, that would take forever to remove. Some of the shorter ones I set into old tool handles or plastic tubes. Will that is ok?
Answer
You can use old tools but, understand that you can’t be sure about the quality and type of steel nor how the steel should be quenched. When in doubt, oil quench! I’ve made tools from big nails, punches, drill bits, etc. and they seem to work fine. The process is the same: annealing, tempering, and heat treating the steel.
Question: What to use when Chasing and Repousse-ing larger pieces? What gauge of sheet metal to use?
I tried to email this response to the person who sent it but, it came back as undeliverable. Here’s hoping you read this!
Question
I just stumbled upon your C&R website and I want to thank you for writing all the useful information which is found there! I have been interested in starting chasing and repousse for some time, however, I am interested in creating larger pieces and I was always wondering what I would use to put behind a larger piece like 12X14 for example. For making such a large piece is pitch still used as a backing, or would something else be used? Also, I am interested in using copper sheets. What thickness is recommended and how does the heating process work?
Answer
 Pitch in a cake pan!
The thickness of the metal you use depends on the height of the relief and how the piece will be used: a serving tray would be better with 18 gauge metal, a hanging ornament would be fine at 24-22 gauge. I would experiment. Remember though: the thicker the metal, the harder it is to move. Start with 22 gauge and see how it goes. 20 and 18 gauge are options for high relief or for pieces needing more strength.
- Heat and metal: The metal is annealed often (with heat), to soften it. With copper, you’ll want to heat the metal until you see a rainbow of colors or if it gets a tad hotter when it turns gray. You’ll need to remove the torch from the metal to see the color changes. The metal is then pickled to remove fire scale. With C&R though, I know many who don’t pickle after annealing.
- Heat and pitch: The pitch is heated to soften it and allow the metal to be supported while moving it.
- Heat is also used to get the pitch into a workable state and onto your working surface: a pitch bowl, pan or flat surface. Once the chunks are softened and semiliquid, it is poured into its container and mounded or spread evenly – depends on the size and shape of the piece you are working on. The pitch should be thick enough to allow the raised relief to not hit bottom.
Ways to create pointillist-type shapes on metal and sources for tools.
Added: 8/15/17
Question
Do you have any links or can you point me to sources that might discuss pointillism techniques for aluminum? I’ve done a little bit of repousse in mild steel – and it’s tough – and think (maybe erroneously) that aluminum would be a little easier on my fingers.
What tools do you suggest to do pointillism on aluminum? I can see that pointillism could be done by a single pointy tool by varying the density of the dots but I’m wondering about also using variable size dots, i.e. blunter points, or possibly even different shapes on the tip. Since I’m old, I really don’t want to spend a year (although failure is a good teacher) messing up a bunch of aluminum and getting sore fingers, if I can avoid it.
While I’m asking questions , here’s another specific one – if I’m just doing sheets, is there a recommended thickness? I see that some metal artists do 3D shapes that require annealing, but I’m going to avoid that .
Answer
Are you looking to create an overall, even pattern or are you drawing with dots? Maybe both. Source a variety of stamps so that your vision can be realized. There are tools that will create several dots at once and others that create single dots.
Now that I’ve created my chased and repoussed object, how do I attach it to the body?
Added: 5/6/17
Answer
The following began as a question I was asked about attaching pin backs to a chased and repoussed piece. Thought others might want to know too!

 (Backs of chased and repoussed pieces).
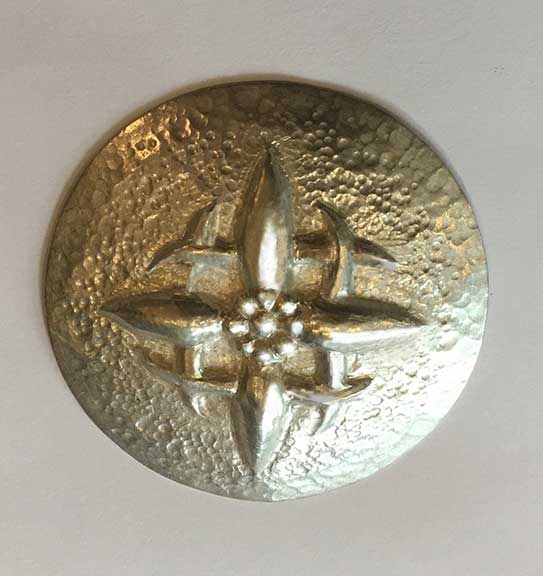
 (Fronts of chased and repoussed pieces).
Chased and repoussed pieces are essentially domed. So, If making your masterpiece into a brooch, bracelet or necklace, you need to figure out how you are going to attach it to the body. You can’t just plop a pinback or a hinge on that domed, rough surface. Obviously, this step should be considered BEFORE you start construction but, even if you were dozing during the design stage, there are ways to make it work. I’ll discuss some ideas below.

 Here are some solutions, for attaching enameled pieces to the body, created by Anne Havel. They are beautiful as well as functional. Both of Anne’s connection methods will work for a chased piece too.
One of the many ways to add a finding, say a pin back, is to add a back to your piece. The back allows you more options for adding findings and it offers a level area to attach them to. You can rivet or solder the back to your chased piece.
You can adhere the back (this doesn’t mean use glue!) to the front with tabs, bezels, prongs, hooks, screws, rivets, etc. You can also solder the two elements together.
 If choosing to rivet a back, saw several millimeters out from the design and create an area to rivet. Make sure that your ledge is wide enough to accommodate your rivet! If you drill too close to the edge, it’s possible that the rivet could tear through the thin metal, leaving you a mess to repair.
That said, you could rivet through the front, incorporating the rivets, prongs or whatever, into your design.
If you choose to solder a back onto your piece you need to drill a small, non-obtrusive hole, somewhere on the piece, to vent moisture that may be trapped inside. If you don’t the moisture will expand during heating and can cause a blowout – potentially causing serious injury.
Because you need to drill a hole, you’ve now created a place for pickle to enter. Of course, if you are not pickling (fine silver, Argentium, high karat gold users?), the following info doesn’t apply to you! Oh, don’t look so smug!
Now you have to boil your piece in a baking soda and water solution. This ensures that the neutralizer fully knocks out the acid. Next, you need to boil your piece in plain water to remove the neutralizer. Very annoying but, if these steps aren’t taken, pickle or baking soda can become trapped in the hollow area and, if it is acid, it will eventually damage the piece and discolor it. Baking soda can leave its own discolorations. I’ve had turquoise and reddish stains on pieces that I did not clean sufficiently.
Another consideration is how you are attaching the actual finding. If you are riveting the pinback or linkage system to the back, you might want to rivet these elements, onto the back, prior to riveting or soldering the piece together. Well, thought out designs involve walking through all the steps.
If you chose to solder on a back, the back generally would be soldered before you solder on the findings. The back will probably be of a heavier material and take more heat to adhere. If you solder on small findings first, then solder the back, there is a greater chance of melting the small findings. Of course, there are ALWAYS exceptions!
 Linking elements soldered onto the backing, that is then riveted to the front.
 The domed fronts of the bracelet.
Another option is to solder a flat bar across the back of the chased piece – if you were trying to cut down on the weight of the piece or you didn’t want to deal with all that sawing (Boy, you’re lazier than me!). Then you can attach a pin back or another finding on the bar. Use sufficiently thick metal so that the bar doesn’t bend with the stress of putting the piece on.
Search the web for ways that enamelists attach their work – there are many cool and unusual ways of holding enameled elements to metal that would translate well to holding a chased piece! Also, check out different types of stone settings. Why not bezel set your piece? What about prongs?
Basically, your chased and repoussed piece should be the star of the show. How you present it on the center stage is all part of the adventure! Have fun!
How to chase and repousse with steel
Added: 4/13/17
Question
” I want to start chasing & repoussé on steel. Where do I start?”
Anwer
I’m going to be taking on class on this topic but, for now, here’s what I know about chasing steel.
- Chasing steel is easiest on mild steel or low-carbon steel (.03% or lower of carbon). It should be annealed.
- Heavier hammers (1 lb) are usually required as are more robust punches and pushers.
- Many use chisels for engraving steel.
- Most repousse the metal during hot work, as it is very difficult to do when cold working steel.
- The concepts are very similar to standard C&R.
- Some recommend using austenitic stainless steel. Online Metals carries the 300 series.
- Steel can be engraved, punched, carved, chiseled etc.
- I recommend a blacksmithing book as well as Nancy Megan Corwin’s: Chasing and Repoussé: Methods Ancient and Modern.
Here’s a video I found. Don’t know if this is similar to what you want to do, or not. Here’s a link that shows different types of work. Check out Anvilfire too.
What chasing & repoussé tools should you start with?
Question
“What starter tools should I make/purchase? What are the most useful for a beginner?”
Answer
I’ve put together some images and sizes of my favorite, most used tools.


Running Punches:


Should a hobbyist consider chasing and repoussé?
Question
“I’m just a hobbyist when it comes to making jewelry but I’m considering trying out chasing, but I’m a little overwhelmed. Is it a method you’d recommend for a hobbyist like myself or something best left to someone who has more tools and set-up like your studio? I have a set of 1/8” chasing tools, basic things like a liner, curved liner, round, oval, etc. but that’s it for tools, no dapping punches even. I bought a pitch bowl and pitch, but I only have one. I don’t know that I’d be able to make any tools myself since all I have is a little butane torch and one of those propane torches you use for camping or something like that, not a proper propane setup or acetylene. I don’t have a whole lot of money to spend on tools or anything so I’d like to know if it’s possible to chase and repoussé with just what I’ve got since I’ve spent more money on tools and such that I should in the first place.”
Answer
Hi Katy, there is no reason you can’t be chasing and repousse-ing all day long. You have plenty of tools to start with. First, use what you have and when you find that your tools aren’t letting you fulfill your vision, THEN purchase what you need. Many people, myself included, buy too many tools and then sit and stare at them. I’ve bought tools that I didn’t even know what they were for. So, buy what you need, when you need it!
Speaking of buying tools: Harbor Freight has an inexpensive dapping set that could help, down the road (wow, the price has gone way up – it used to be about 25.00!!!). Rio Grande offers one for $45.00. So, if you decide you need the dapping set for the punching part of repoussé, then purchase it then. You can always make punches by rounding the tips of various sized dowels, for now. They don’t last forever but, what a cheap alternative!
I would just go for it. You’ve nothing to lose! Anneal some thinnish copper – 26g – 24g, draw or scratch on a design and get going! Don’t expect miracles or perfection just play. Later, down the road, if you feel like this is a good fit for you, you might think about investing in a hotter torch for tool making BUT, for now, what you have is fine. I know people who use hair dryers to soften pitch and I tend to use my heat gun. The torch is great for cleaning the metal after it has been in the pitch (you need excellent ventilation for this) and for annealing. You’re set!
I started out as a “hobbyist” and look at what happened to me (whatever that is?). Don’t underestimate your love of craft – it is a powerful and amazing tool. You just need to let it go and watch the magic happen! Have fun.
BTW, you only need one pitch bowl! I still only use one, I just happen to have two after I tried out the red pitch for the video.
I live in India and cannot find a supplier that sells a beginner set of tools for Repoussé, what can I do?
Question
“Namaste, I am Sculptor Nilesh Dhere, from India, I am interested in Repousse´ work and want to purchase a beginner set of tools, I referred to your website and find it very useful.”
“The company you have mentioned in your website “Perfect Line, India”, they don’t have these tools, can you recommend any other suppliers from India?”
Answer
The problem is, I don’t know of many suppliers in India. I’ve been asking my viewers for more information but, I have not received any responses. I did find that Amazon is in India and found several books on the subject but, no chasing tools on Amazon. Sunrise Exports has jewelry tools, perhaps you could contact them. Tools Impex, Eagle Industries also has jewelry tools. I’ve added several more jewelry suppliers in India to my Indian Suppliers list. Check there, for more links.
It is difficult to search for non-USA products while in the USA as most of the links are for the USA. Have you searched the internet? IF you do find any links, please let me know. I know from another Indian correspondent, that many of the Craftspeople who do chasing and repousse´, don’t want to share their knowledge. But, perhaps you could ask an artisan where they buy their tools or have them teach you to make them? Sorry, wish I had more information. I’ve emailed another jeweler about suppliers of chasing and repousse´ tools and when/if I hear back from her, I will let you know (if she offers any new information).
Have you thought of making your own? Did you see my videos and web page on making your own tools? Part one of making chasing tools, part two and my web page. They are pretty easy to make – I can do it. You only need simple tools too and a torch.
Preview YouTube video Making Chasing and Repoussé Tools: Part One

Preview YouTube video Making Chasing and Repoussé Tools: Part Two

Metal Embossing Versus Chasing & Repousse – why is it so challenging?
Question
 Tilt the liner backwards, just a bit, and move it towards you, minutely, every time you hit the liner with the hammer. It should start to feel like it is moving on its own volition.
Another tip is to make or buy small faced tools. A lot of the tools sold are too big to create fine detail. I LOVE 2 Moon Tools and Mettleworks for tools.
With C&R, you are always creating differently shaped tools. I had to make a honeycomb-shaped tool for a wasps nest pendant, as an example. If you can’t make something work, think about making a new tool.
You didn’t specify what problems you were having. Is it that your work isn’t as good as you think it should be? Are you not able to create what you want? Are you having difficulty with repousse, lining or planishing.? Let me know what, specifically, you need help with and I will attempt to assist you.
Try working with copper – it’s a much softer material or fine silver. I put down my lines, with my liner and then anneal. I flip it over and do my repousse. Anneal. Flip again – back to the liner. Over and over again. The annealing makes the work easier and it keeps the metal from becoming overly stressed and tearing.
I love this technique and can spend all my time on it – if allowed. But, alas… Keep pushing forward, you’ll get it! Metal embossing IS much easier – that’s why more people do it!
Related Videos
- Chasing and Repoussé, part one – C&R, part two – C&R – part three
- Making Chasing and Repousse Tools part one, and part two
Related Web Pages
- Basic Chasing and Repousse
- Pitch
- Making Chasing and Repousse Tools.
- Please see this link at Q&A: Setting Up a Jewelry Studio about beginning Chasing and Repoussé setup.